

Lately we've been considering the different ways running a business can lead to excess waste output. Here at Thrifty, we try to keep things low waste by putting fabric scraps we can't sell in a free bin, composting, and recycling. Our mission is to throw away as little as possible.
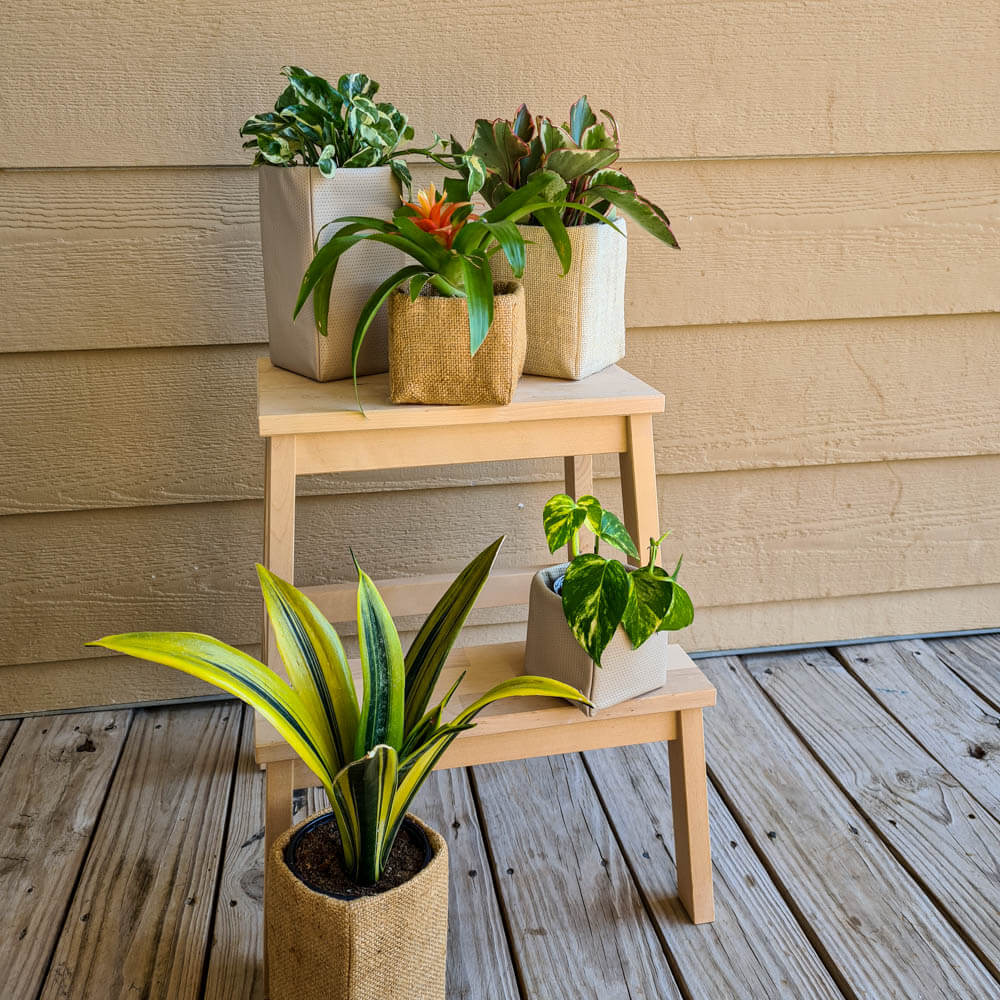
We've also started reaching out to other businesses to see if we can take on their scraps, too. Local small-batch coffee roasters have graciously passed us their leftover burlap bags so we can both offer them for sale in the shop and upcycle them, which is how I came up with this concept for a burlap plant holder!
What you'll need: burlap, lining fabric, rotary cutter, sandpaper, craft or hot glue, and an empty milk or juice carton.

- Choose your size from the photo above and follow the dimensions to draw and cut out your own pattern.
- Cut out your fabric according to the pattern dimensions. If you're using burlap, I suggest adding a lining fabric like muslin so you can't see the structure of the planter through the open weave of the burlap.
- Cut your carton to the corresponding height from the pattern. Small is 3.5 in, Medium is 5.5 in, Large is 7.5 in. Opening the top of the carton will make cutting it down easier.
- Take your fabric and lining (if using, just line it up with the outer fabric and treat it as one piece) and sew down the sides of the planter. The seam allowance is approx 1/2", but cartons may vary a bit in size so feel free to adjust based on the one you are using. (I made mine anywhere from 3/8"-1" since I was working with a few different brands of cartons.)
- Next, sand down the carton along the top 1" of the inside edge to rough up the coated surface so the glue will adhere to it. Only sand the inside edge, there's no need to sand the entire inside.
- Turn the planter right side out and insert your carton liner. There should be about an inch of extra fabric above the top of the carton. Fold the edge inside the carton and glue it down with craft glue or hot glue. You may want to use fabric or binder clips during this step to hold it in place while the glue dries.
- Add your plant and enjoy!

Check out our Pinterest board for customization tips, like making a hanging planter!
Happy Sewing,
Kelly