I have a thing for baskets. Well, pretty much any storage option that looks better than a plastic tub (bonus points if it is old and handmade). So in this tutorial we will be going over some tips for mending broken baskets with scrap fabric.
In the every day course of my life, I aim to buy high quality items for daily use, but occasionally those items have accidents or just wear down and break. When any of my beloved baskets starts to fall apart, I try to mend it and extend its lifespan. I turn to fabric for this task (since I happen to own a fabric store and literally have tons of it) but if I can use something laying around the house, that's even better.
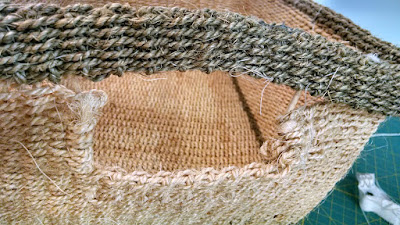
I always start with something suffering from a problem like this:
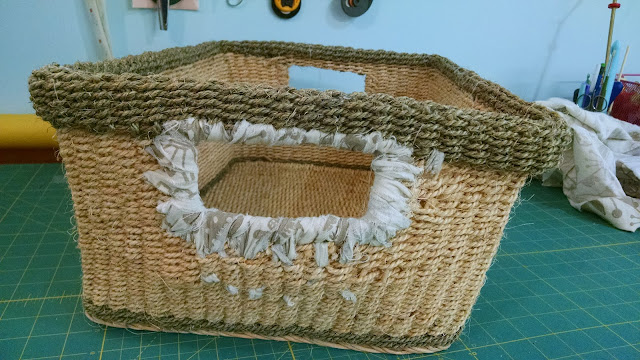
Starting with a basket that has given way to natural wear and tear, I decide what I want my color palette to be for the mending project. In this case, I went with neutrals. I tear (or snip) the fabric into strips - the width depends on the type of basket I'm working with and is pretty intuitive. For this one I used an old curtain cut in to 1/2" strips, but whatever is handy will do.
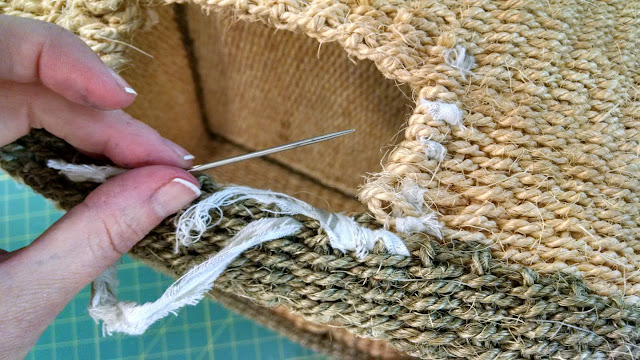
Next, I pull out my trusty rug needle (of which I have several because they are quite useful and tend to wander off).
From there, it's time to get to going. Luckily, this is much like mending clothing by hand so if you are familiar with that already you're basically good to go.
I leave a tail of fabric and stitch over it to hold it firm. Then I weave in and out of the basket, making sure to sew out into areas that aren't falling apart so there's something to anchor the mend. When I get to the end of the fabric strip, I either leave a tail and stitch over it with the next piece, or weave the end out into the basket so it disappears.
It's by no means an invisible fix, but it works for my purposes. Plus, it's pretty easy to make decorative if that's your thing.
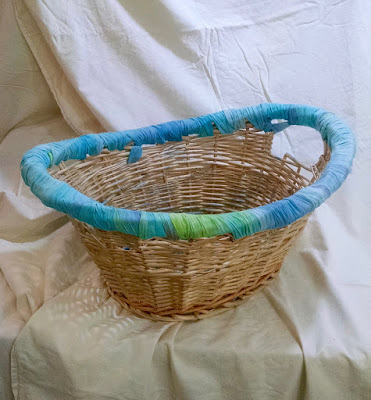
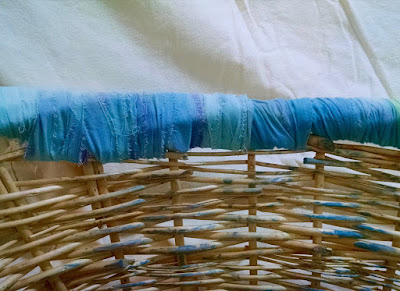
Here's one of those wicker baskets that are ubiquitous in thrift stores everywhere. They work great for laundry until the edge starts disintegrating and snagging all of your nice, soft sweaters. I fixed this one with a 2" wide scrap of fabric.
For this one, I just wrapped the fabric around the rim trying to cover as many snaggy ends as possible.
Here's one that needed some extra work. It might be my most satisfying mend ever.

So much of the edge had disintegrated that the lid no longer fit and it would fall inside. It was a gorgeous piece of work, but was shedding straw and had become too fragile to use.
I built up the edge with twisted strips of fabric and sewed over them so they matched the rest of the mend. In addition to wrapping over and tucking the ends, I added some fabric glue just to make sure things stayed put.

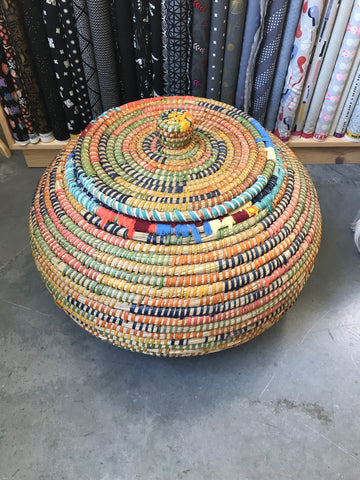

It wasn't exactly a seamless fix but we do what it takes to make it do!


