

With all the consumption and consumerism of the holiday season, I've found myself looking for ways to reduce waste and be more sustainable while I celebrate. One of the ways I do this is by making fabric gift bags for some of the gifts I give! Not only are these bags beautiful and reusable, but they can also be customized for any holiday or event. The steps to make them are outlined below, but there is also a video tutorial you can watch here.
First, start by making a pattern. Below are some of the measurements that I used to make my patterns, but yours may vary based on the item you are wrapping, the size of your drawstring, and your personal preferences.
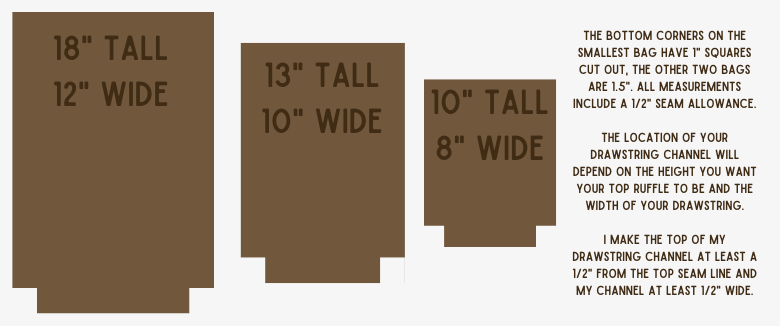
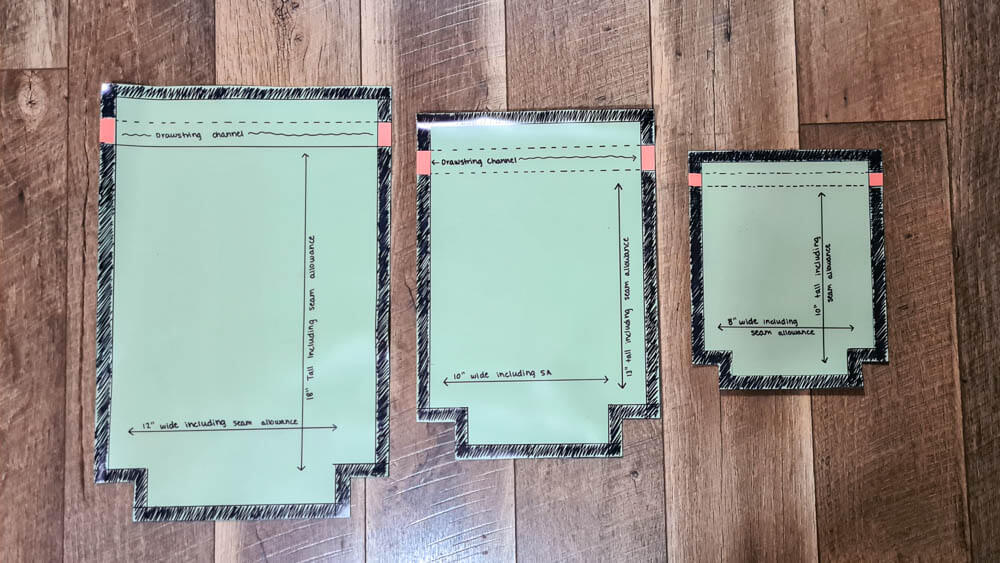
This is what my patterns look like. The pink sections indicate my drawstring opening, which I will not sew shut on my outer fabric. This is just a general guide, as I sometimes adjust these for different drawstrings!
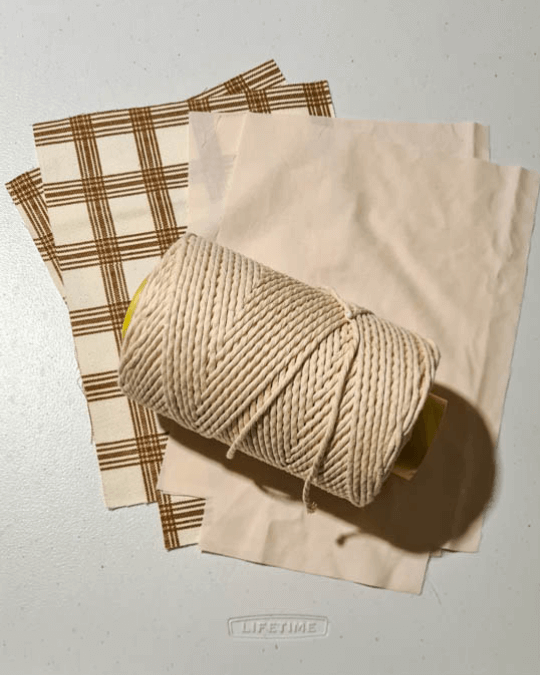
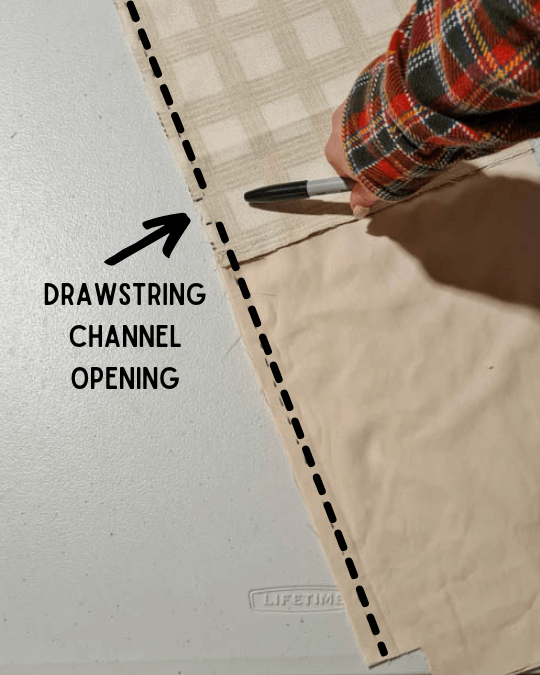
After you've made your pattern, cut two pieces of your fabric and lining. Be sure to mark where the openings should be on the outer fabric for your drawstring, and if you'd like, mark the channel lines for easier stitching later on.
Lay the lining layers on top of your outer fabric, right sides facing, and sew them together along the top edge. Repeat with the other pieces.
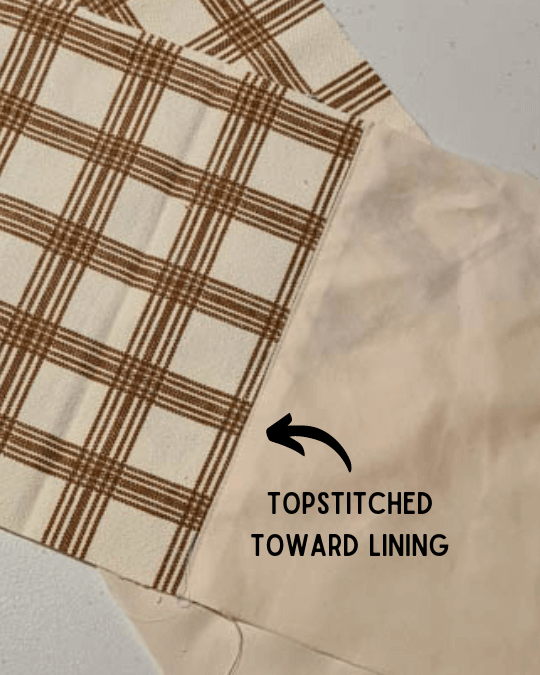
Open up the layers you just stitched together and iron or topstitch them flat with the seam allowance going toward the lining.

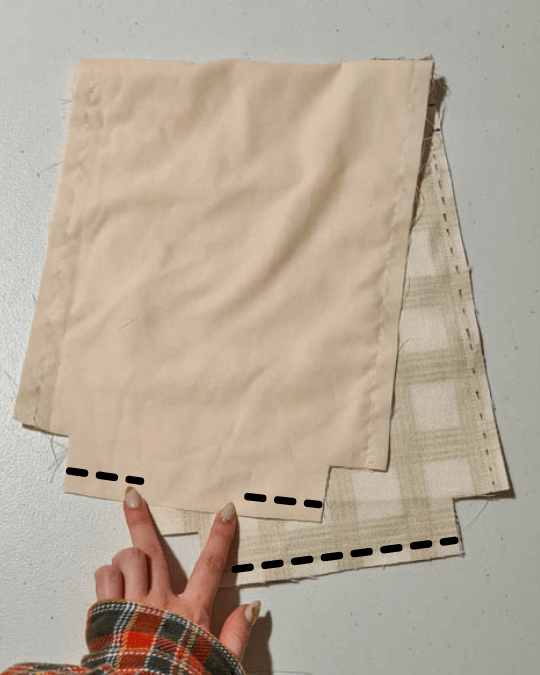
Then, face the two pieces you've been working on together with the lining and outer fabrics aligned with their mate, as shown in the photo below. Stitch up the sides of the bag, being sure not to stitch over the drawstring channel opening.
Next, sew the bottom edge of the outer fabric completely shut, and the bottom edge of the lining together as well, leaving a gap to turn the bag right-side out later on. If this is confusing, check out my video for a visual explanation.
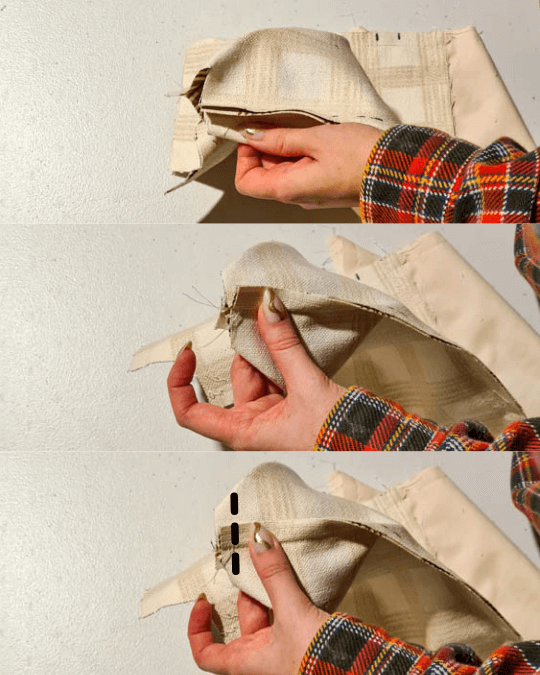
Now, let's tackle the corners. Take the end of the side seam and the bottom seam on each side of the bag and line them up with the seam allowances going in opposite directions (to reduce bulk.) Sew across this little section. Do this for all four corners.
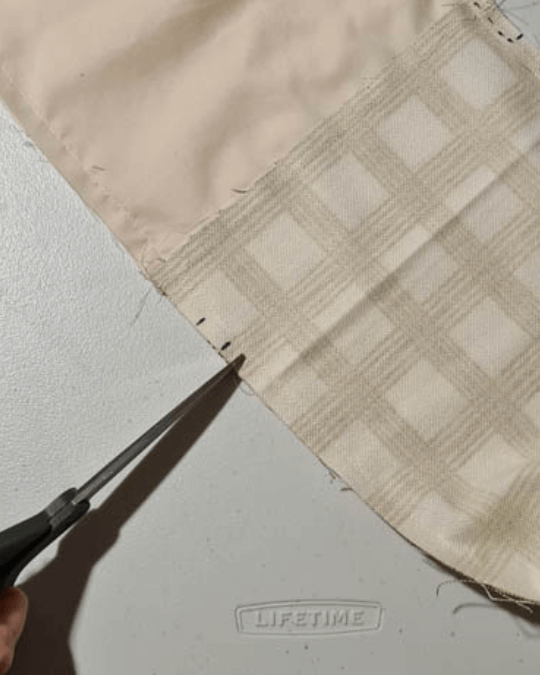
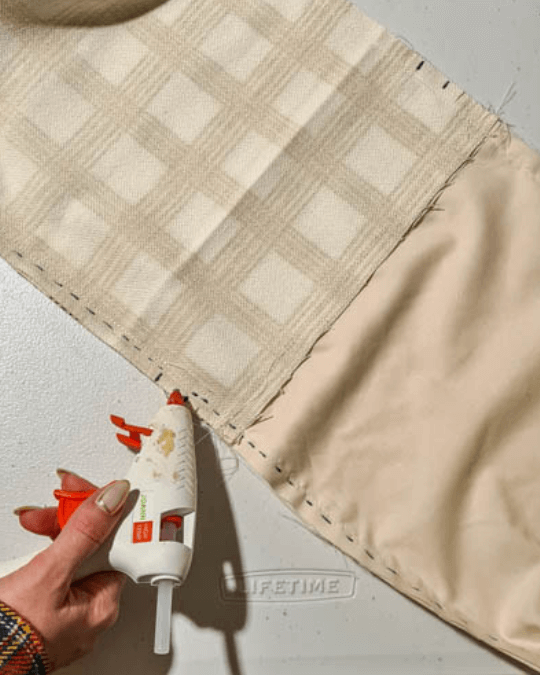
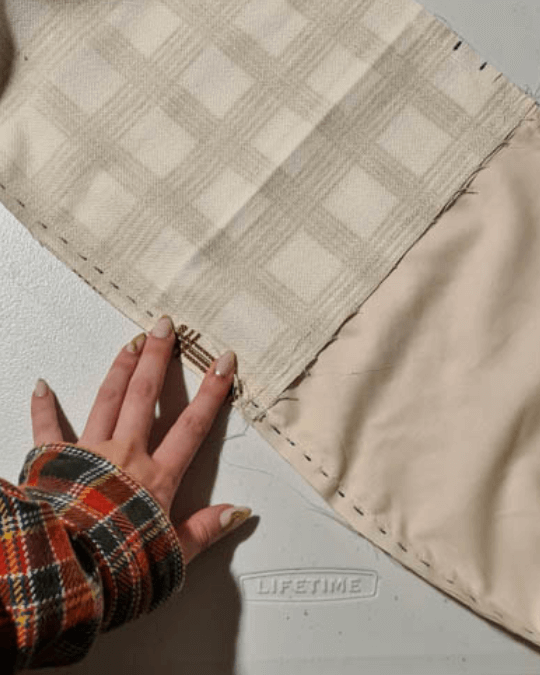
Snip into the seam allowance about 1/3 inch away from the drawstring channel opening marks. Do not cut your stitch line, just snip into the seam allowance enough to fold it backward. Add a small line of hot glue to these seam allowance sections and press them down. Be careful not to burn yourself while doing this! Gluing these open will make inserting the drawstring MUCH easier, and ensure the seam allowance will stay inside when the drawstrings are pulled on.
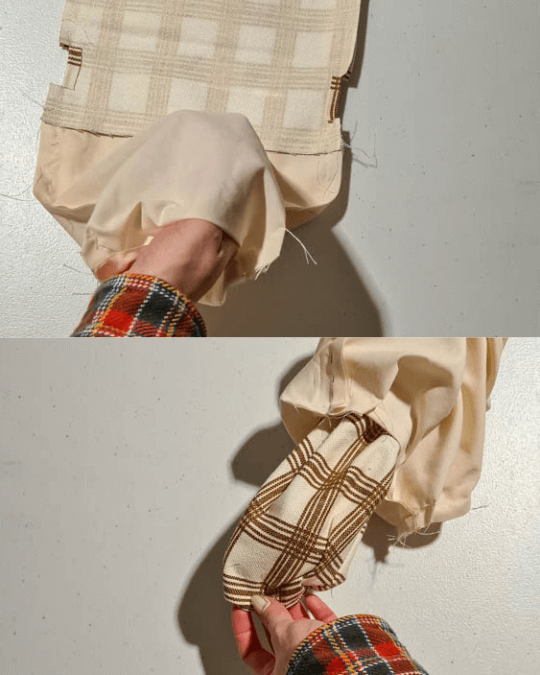
Now it's time to turn the bag right-side out through the opening left in the lining, and then sew that opening closed. I like to sew mine by machine, but you can sew yours by hand if you want it to be more invisible.
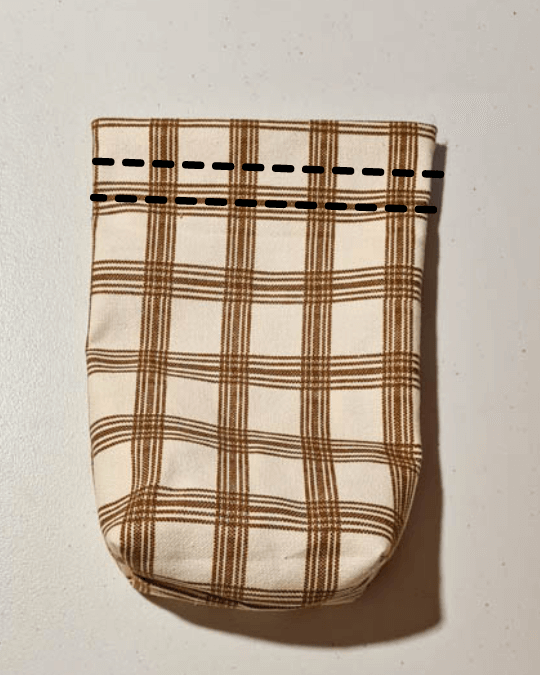
After turning it all right-side out, insert the lining into the outer fabric and topstitch two lines along the top edge of your bag following the lines that form your drawstring channel.
Cut two pieces of your desired drawstring cord to AT LEAST 3x the width of your bag pattern. This will ensure they are long enough to go all the way around the bag with excess to stick out and tie a knot.
Insert your first drawstring into one side of the bag and push it all the way through until it comes back out the same hole it went in. Repeat from the opposite side with the other drawstring.
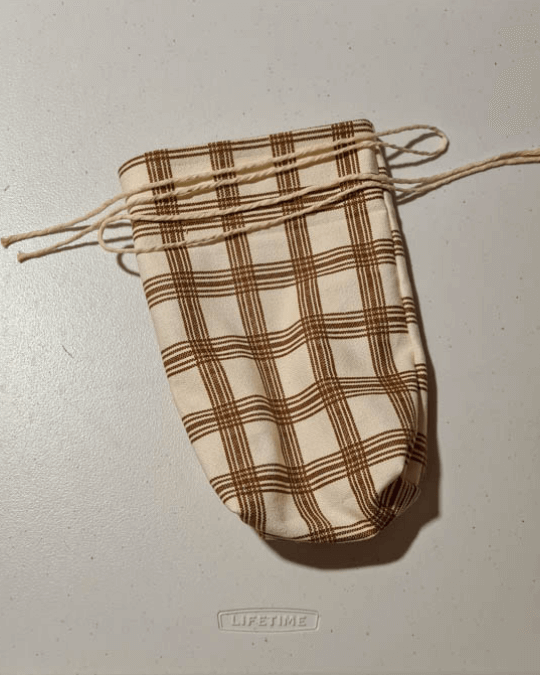
Tie the ends of each drawstring together so that they won't come undone, and with that, your fabric gift bag is done!
My favorite part about these bags is that they're like a little bonus gift for the recipient.
Wishing you happy holidays and stressless sewing!
- Kelly